Voltage drop testing is often confused with battery draw testing. While voltage drop testing can be a valuable tool in locating a battery draw; the two tasks are far from synonymous.
In short, voltage drop testing is using a digital multimeter (DMM) or a similar tool to test actual circuit voltage and compare it with desired (or anticipated) circuit voltage. Many technicians fail to recognize the ground side of a particular circuit as part of said circuit and often disregard it altogether. Of course, this frequently results in misdiagnosis. A typical automotive circuit may consist of a main component, wiring, connectors, fuses, relays, and controller inputs/outputs, depending upon the function of the circuit being tested.
Voltage drop testing is a diagnostic strategy. Some technicians utilize a strategy that begins with component testing; others analyze data in an effort to reach an accurate diagnosis. Voltage drop testing may be the most accurate strategy, but it requires a proper understanding of a circuit, voltage, and amperage.
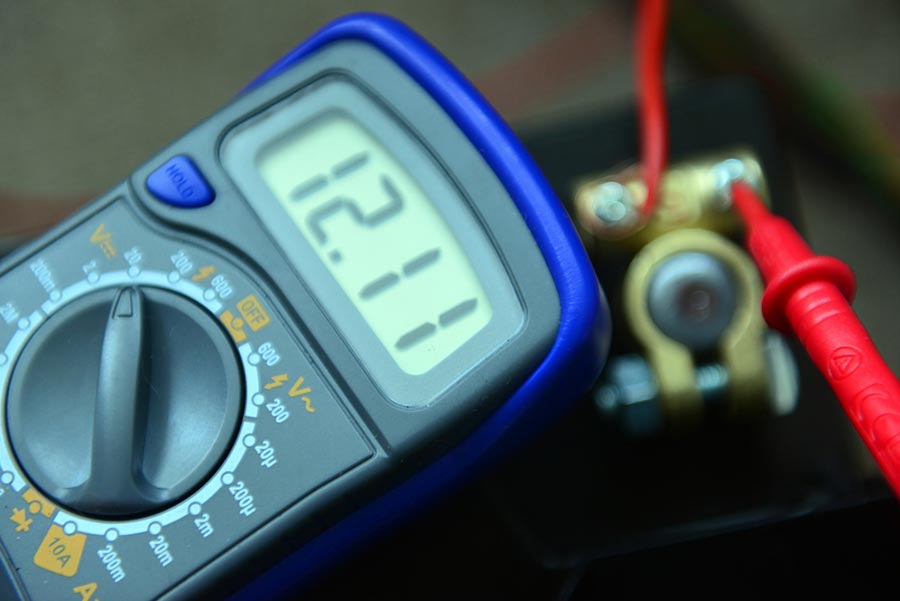
Voltage drop testing is done by using a DMM to monitor actual voltage/amperage on a particular circuit, group of circuits, component, or electrical system (windshield wipers, cruise control, charging system, etc.). Actual voltage is then compared with the desired voltage or battery voltage (if applicable). The degree of voltage to which actual voltage is lower than desired voltage is called voltage drop. Actual voltage must not vary from desired voltage by more than a predetermined maximum parameter. If the voltage drop exceeds the maximum allowable parameter, a problem exists in the circuit. This problem is due to high resistance in the electrical wiring or connectors. It could also be due to a defective component in the circuit.
When performing voltage drop testing it is critical that the circuit is fully loaded with the same degree of voltage that it will be expected to handle in carrying out its functional requirements. You cannot always expect a powered DMM to supply effective voltage for voltage drop testing. For instance, if you are testing a 12.6-volt circuit, make sure that 12.6-volts are present before attempting a voltage drop test of the circuit. If there is no 12.6-volt signal detected, establish a sufficient level of voltage and perform the voltage drop test with the circuit functional. Only after sufficient circuit voltage is established can voltage drop be measured.
Typical (maximum) voltage drop tolerances are reflected below:
- A voltage drop (0.00-0.003 volts) could be detected from one side of a connector to the other
- The voltage drop between the power and ground side of a particular circuit will generally be 0.1 volts or less
- Expect a voltage drop of 0.2 volts or less from one end of a particular copper wire or cable to the other
- A switch will usually create a voltage drop of 0.3 volts or less
Since ground circuits are fewer than power and signal circuits, begin your voltage drop test with the ground side. A reliable source of vehicle information, such as ALLDATA, will yield wiring diagrams and ground locations.
With the location of the main ground junctions in hand and the battery fully charged, perform a voltage drop test (battery voltage) at every one of the main engine and chassis grounds. These ground junctions are frequently disturbed during related repairs. If recent repairs have been performed in the area of these ground junctions, suspect a loose bolt or nut to be the cause of other malfunctions. Ground junctions may also be affected by rust and/or corrosion.
If all of the main ground junctions are within voltage drop specifications, concentrate your effort on the precise circuit of the malfunction and repeat the voltage drop test on the ground circuits related to it. In the majority of cases, you will reach a successful diagnosis by the time you finish voltage drop testing the ground side of affected circuits.